Method:
Pour the cup of pineapple juice to a saucepan. Strain the juice from the
can of chunk pineapple, adding the juice to the pan. Reduce the liquid over medium-high
heat until you have 1/2 cup of liquid in the pan. This intensifies the pineapple
flavor.
Very lightly chop the pineapple chunks (about five quick pulses in a
food processor).
Thoroughly mix all of the cake ingredients and pour into a greased pan.
A bundt or ring-type pan will cook quicker, but you can also use a loaf-type pan. If you
use a loaf-type pan and only fill it about 1/3 full, you will have anough batter left over
to make Painkiller Cake #2.
Bake at 350°F (225°C). If you use a bundt or ring pan, the cake
should be done in about 45 minutes. A loaf pan will take about an hour. Be sure to
leave lots of room in the oven above, as this cake rises a lot. When the cake
starts to turn nice and brown on top, check for doneness with a toothpick. Poke a
toothpick into the cake and pull it back out. If it comes out clean, the cake is
done. Don't overcook, as you want this cake to be very moist inside.
About a half hour after putting the cake into the oven, make the
glaze. Bring the butter, sugar, orange juice, and Coco Lopez to a boil over medium
heat. Remove from heat and add the rum and Gran Marnier. Return to heat and reduce
over high heat until the glaze reaches 240°F (the soft-ball candy stage - see note
below).
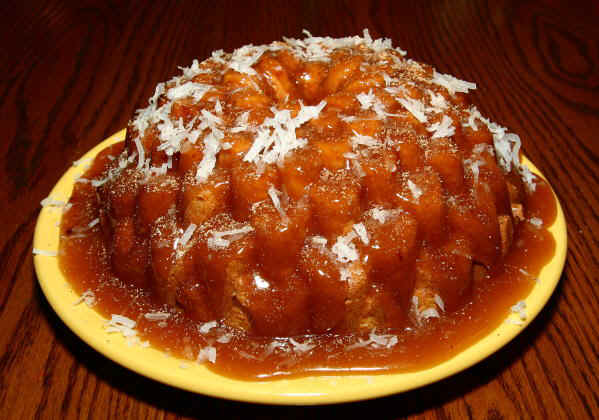
Drizzle glaze over cake while cake is still warm. Drizzle from the
center, allowing glaze to run to edges. Once top has been completely covered, let cake
rest for a couple of minutes while glaze runs down sides. Then slowly add more glaze
to the very top. Don't worry much about the glaze that runs off the side, of the cake as
it will form a delicious soft candy as it cools.
Grate a very light sprinkling
fresh nutmeg over the glaze.
Lightly sprinkle coconut
flakes over top of cake.
Note on the glaze:
Cooking a sugar-based glaze is very easy, but requires a little bit of care. If you don't
cook it long enough, it will not set. If you cook it too long, you wind up with hard
candy. This glaze should 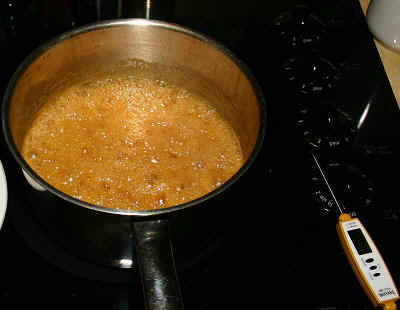 be cooked until it is about 240°F (the "soft ball"
candy stage). Be patient -- this may take 15 to 20 minutes or more over high heat.
(A thermometer really helps here.) The liquid in the pan will remain at around 210°F for
a long time while the water boils off. Once it passes this stage, though, the temperature
will rise quickly. Do NOT let the temperature exceed 245°F! This picture shows the
glaze just as it has reached 240°F.
If you are unfamiliar with
candy stages, I suggest this link.
 The cake
recipe makes slightly more batter than is needed for a bundt pan. I use the extra batter
to make small cupcakes, glazing and finishing them just like the cake.
You might also want to try our other Painkiller Cake recipe. It is made with the
same basic cake recipe, but is finished totally differently (more like a Tres Leches).
Bonus! Caramel From
Leftover Glaze
The glaze recipe makes a slight
excess of glaze. The extra glaze makes a delicious caramel with very little additional
effort. 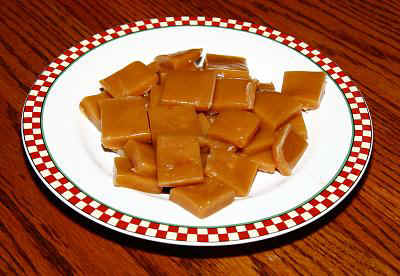
To make caramel:
Reheat leftover glaze.
When glaze begins to bubble, add a bit of butter and a bit of heavy
cream. The amount depends on how much glaze is left over. For each cup of
glaze, I use about 1/2 cup of heavy cream and 1 tablespoon of butter.
Heat until caramel reaches 245F. Temperature control is important.
Pour caramel into a buttered pan.
Let caramel sit in pan and cool completely at room temperature.
After pan is completely cool, refrigerate pan for about 10 minutes.
This makes cutting the caramel easier.
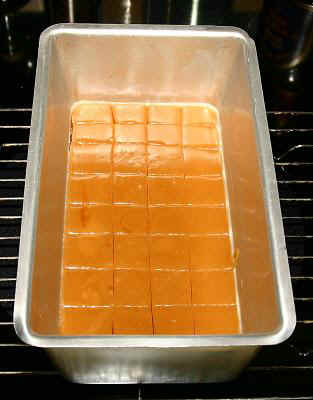
Cut caramel into small squares. Store on waxed paper.
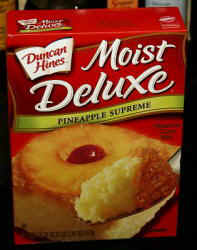 1 package pineapple cake mix - the Duncan Hines
Moist Deluxe Pineapple Supreme Cake Mix or something similar works best.
 be cooked until it is about 240°F (the "soft ball"
candy stage). Be patient -- this may take 15 to 20 minutes or more over high heat.
(A thermometer really helps here.) The liquid in the pan will remain at around 210°F for
a long time while the water boils off. Once it passes this stage, though, the temperature
will rise quickly. Do NOT let the temperature exceed 245°F! This picture shows the
glaze just as it has reached 240°F.
 The cake
recipe makes slightly more batter than is needed for a bundt pan. I use the extra batter
to make small cupcakes, glazing and finishing them just like the cake.


